photograms
A photogram is a print that is made from placing objects on light sensitive paper and exposing it too light. This results in parts of the print coming out as black and some coming out as white and depending on your object some shades of gray.To make photograms more interesting it is important to use a series of different objects. This can be items of moderate transparacy or items that are just interesting and complex in shape.
To make a photogram it is essential to use a darkroom. This keeps paper from being exposed to light while making a photogram. To starts, gather some objects that are appropriate to lay on your photographic paper. We use an enlarger to expose the paper. This is a light source which has set times of exposure and accurate control of the light. The lens of the enlarger must be set to f/11 or f/8. Then you must set the appropriate size to fit your paper but you must make sure your red filter is on so that no light can be exposed to the paper. This is because red light is a slow exposing type of light so will not ruin your print. Set the focus, size and objects and then you are ready to expose your paper. First we must make a test strip to figure out how long we must expose our paper for. Choose a time of about 3 seconds to begin with, then get a piece of black cardboard and cover the light of the enlarger so its covering 2/3rds of the paper. Press your timer and once it has gone off move the cardboard again, covering 1/3rd. Finally remove the card completely and hit the timer light one last time. The paper has now been exposed and is ready for developing.
The developing process starts with placing the paper in the developer for two minutes until an image has appeared, this develops the image. Next remove from the developer and place in the Stop bath for 1 minute, this will stop the developing process. After this, you must place your image in the fix for 4-8 minutes, this fixes the image and makes it permanent. Finally, you should leave your image in the water bath for around 8 minutes. This ensures permanency of the image so it doesn't fade over time. The developing process is now over. The final print should then be dried to get rid of any excess water.
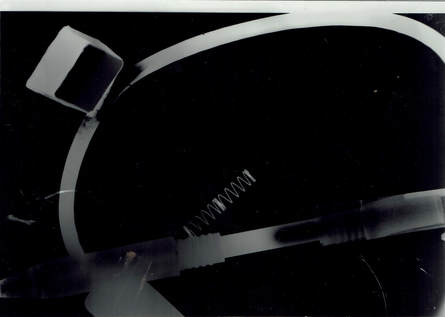
These are my first tests of photograms...
To make a photogram it is essential to use a darkroom. This keeps paper from being exposed to light while making a photogram. To starts, gather some objects that are appropriate to lay on your photographic paper. We use an enlarger to expose the paper. This is a light source which has set times of exposure and accurate control of the light. The lens of the enlarger must be set to f/11 or f/8. Then you must set the appropriate size to fit your paper but you must make sure your red filter is on so that no light can be exposed to the paper. This is because red light is a slow exposing type of light so will not ruin your print. Set the focus, size and objects and then you are ready to expose your paper. First we must make a test strip to figure out how long we must expose our paper for. Choose a time of about 3 seconds to begin with, then get a piece of black cardboard and cover the light of the enlarger so its covering 2/3rds of the paper. Press your timer and once it has gone off move the cardboard again, covering 1/3rd. Finally remove the card completely and hit the timer light one last time. The paper has now been exposed and is ready for developing.
The developing process starts with placing the paper in the developer for two minutes until an image has appeared, this develops the image. Next remove from the developer and place in the Stop bath for 1 minute, this will stop the developing process. After this, you must place your image in the fix for 4-8 minutes, this fixes the image and makes it permanent. Finally, you should leave your image in the water bath for around 8 minutes. This ensures permanency of the image so it doesn't fade over time. The developing process is now over. The final print should then be dried to get rid of any excess water.
These are my first tests of photograms...
|
|
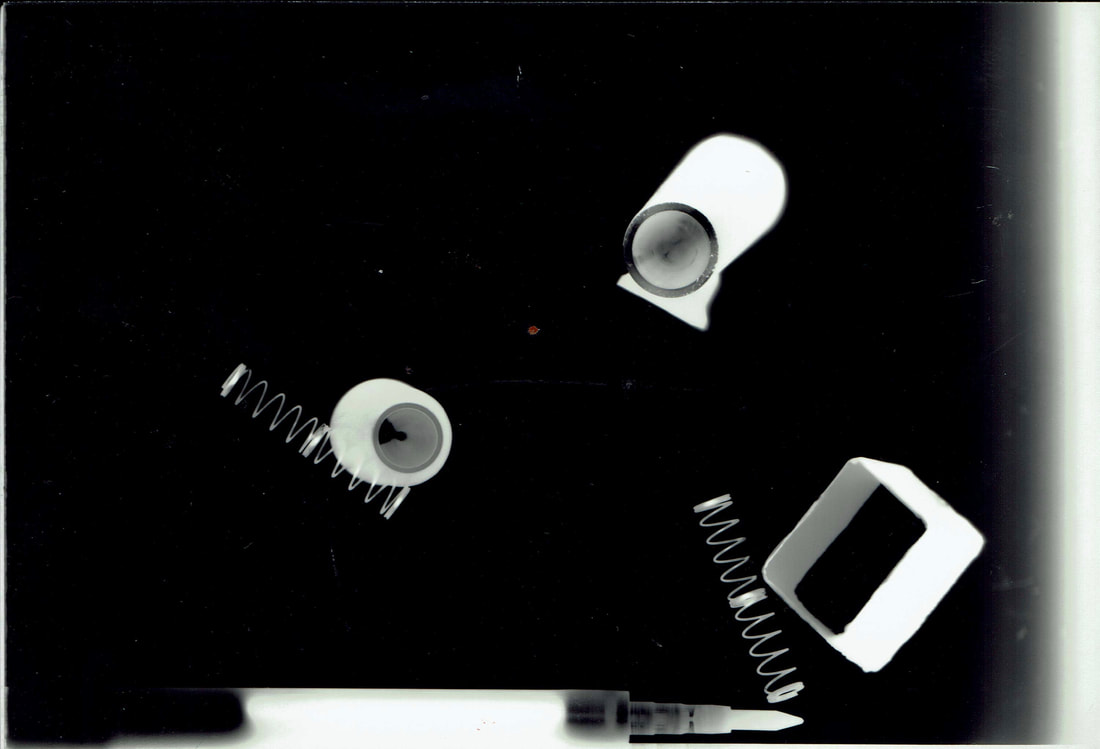
A strong image/photogram would have a range of greys, a very deep white and a deep black. I'd say the photogram on the left is probably more succesful as it has a very deep white and a very deep black and also a range of midtone greys inbetween. The left has quite a deep black however the lights are not very white and look more grey. The left is exposed well however the compostion and object choice is quite careless and not very refined.
|
|
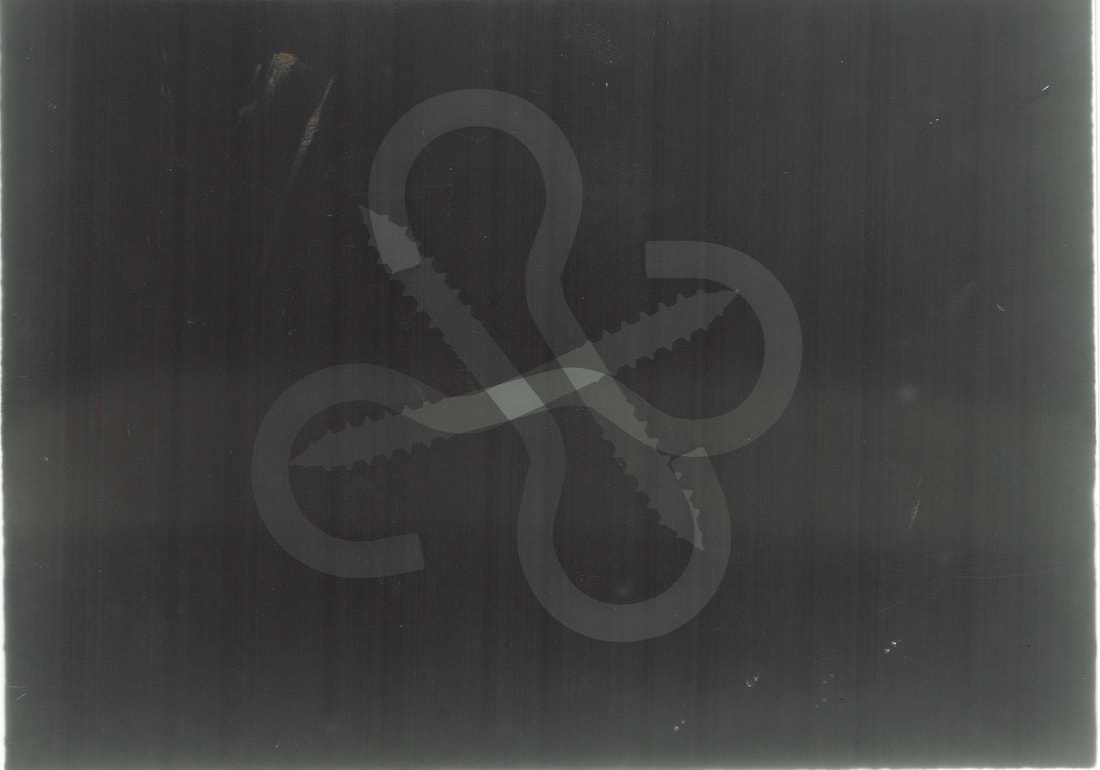
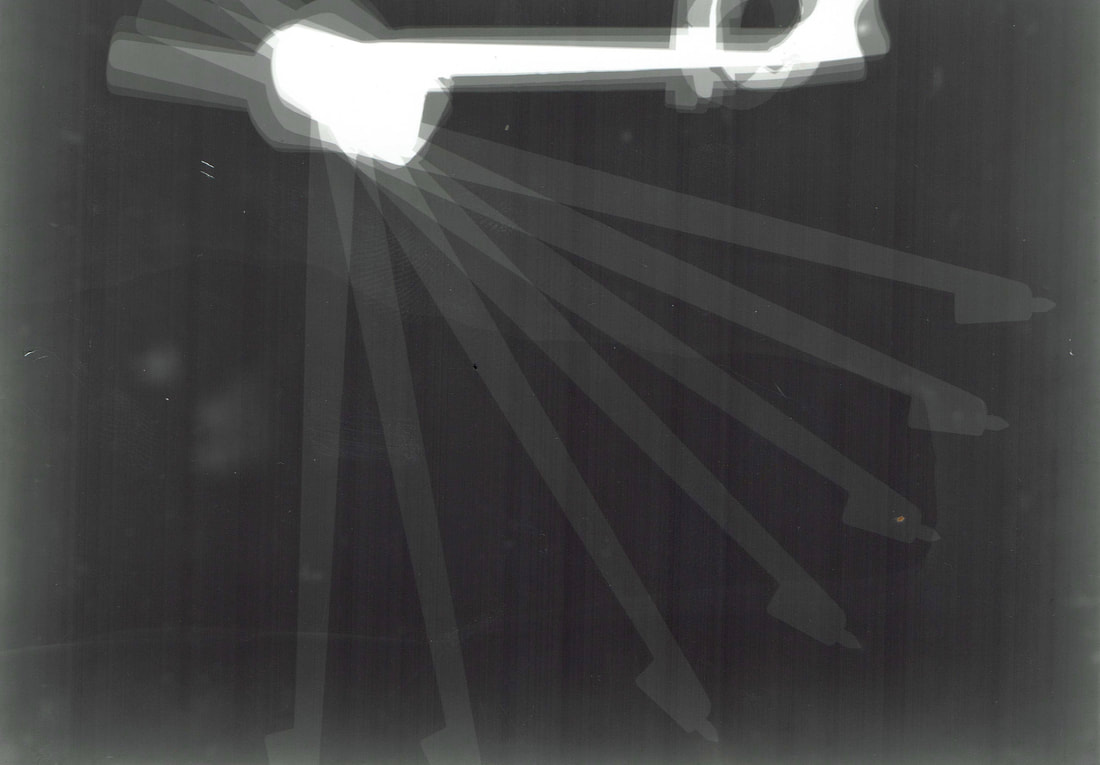
This batch of photograms above were my first experiments with different techniques of creating photograms. The top two were double exposures which I found the most tricky. For the couple exposure you need to expose your paper twice and change the position of the object on your paper to achieve the full effect. This gets difficult as you need to have a short exposure time so that everything doesn't come out as completely black. For the one on the left I kept the exposure time to about 1 second each go

Pin hole cameras
A pin hole camera is pretty much a small camera obscure. Its a small light tight container with a pin hole poke. This allows light to enter and an image to be formed. Placing photographic paper inside the container and creating a small flap as a shutter means we can create photos using this technique. We used a small sized pringle can. Firstly we made the container completely light tight using black card and tape. This means no light would leak into the camera (apart from the pinhole). Then we cut a 10x10mm flap in the camera and covered this hole from the inside with tin foil to allow us to poke a precise pin hole in the camera. It's important this hole is small so it only allowes a small concentrated beam of light to produce an image. We then used the darkroom to load our camera with a piece of photographic paper. However the only problem with using this paper is that we would produce a negative image. Meaning we would later have to make a sandwhich print with the negative image. We experimented taking photos at different exposure times ranging from around 5 seconds to 15 seconds depending on the quality of light. To make a positive image we would develop the original image as normal. We would then use another piece of paper to make a positive image. For this you must use an enlarger and contact glass. First place the unexposed paper down on the enlargers easel and then place the negative paper image down on the unexposed paper and the contact glass to hold it firmly down flat. I then exposed it on an aperture of 5.6 for around 6 seconds, similar to the time taken for original negatives exposure. Finally you process as normal and adjust the exposure or aperture accordingly on your next production of a positive image.
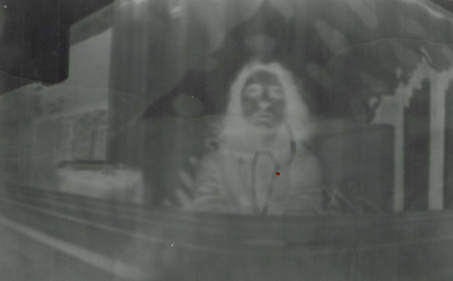
negative print

|
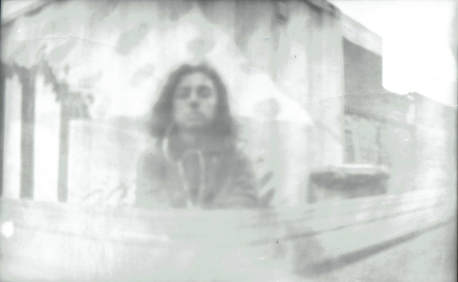
positive print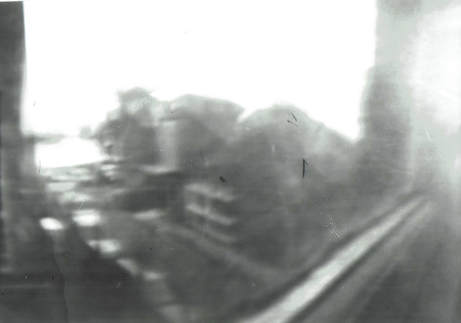
|
The first test was probably the least successful for two reasons. The first being that it was very under exposed, this is obvious at its very dark and there is no real range of grays in between the Blacks and Whites. The second reason is that the camera was not held still enough so this caused blur and there is no real image visible. However this image was the first image that I succesfully made a sandwhich print from.
The second image was way more succesful than the first. I adjusted my exposure time to around 6-10 seconds
The second image was way more succesful than the first. I adjusted my exposure time to around 6-10 seconds
the film process
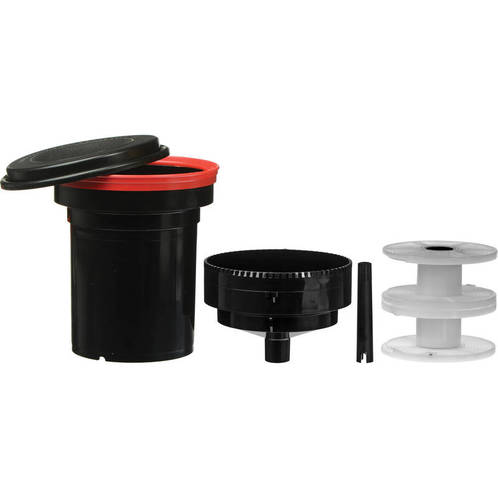
The process of producing an image chemically is a long and fragile process. It all begins when you load your film into your camera. The method in which you do this differs from camera to camera but the aim is to load the canister (usually the left side of camera on a 35mm) and wind the film onto the right side so that you can begin to take images. This rolls all the film to the other side of the camera and once all pictures exposed you can wind back onto the left side using the button on the bottom and the crank the film rewind to wind back into the canister so that the film can be emptied from the camera without exposing to light. When it comes to unloading the film we must be in complete darkness. This is because the film is still sensitive to red light and all types of light. When unloading our film from the canister we must use a light tight developing tank. This will let liquid in but not light. Our developing times are stated below:
Develop- 6 mins (agitation in 1 min intervals)
Stop- 30 seconds (constant agitation)
Fix-5 mins (Agitation in 1 minute intervals)
Wash- 5 mins
Wetting agent- 10-20 secs (constant agitation)
Develop- 6 mins (agitation in 1 min intervals)
Stop- 30 seconds (constant agitation)
Fix-5 mins (Agitation in 1 minute intervals)
Wash- 5 mins
Wetting agent- 10-20 secs (constant agitation)
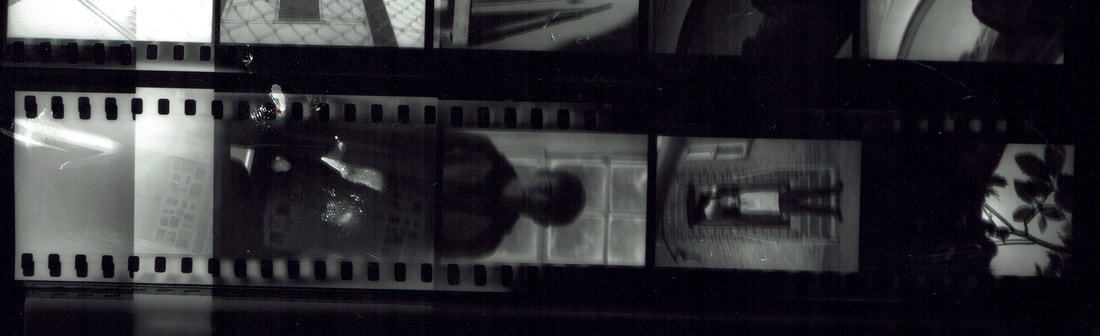
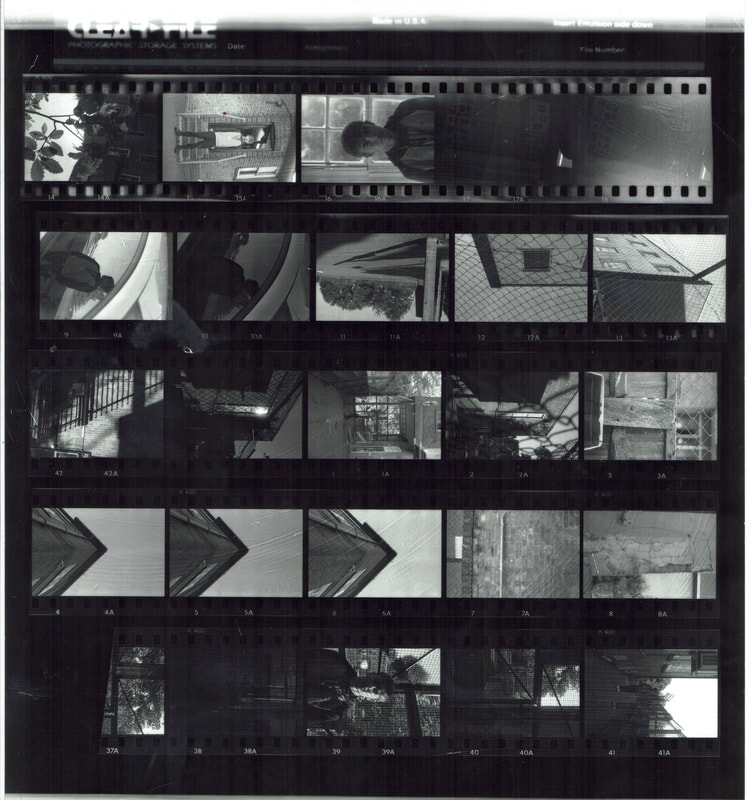
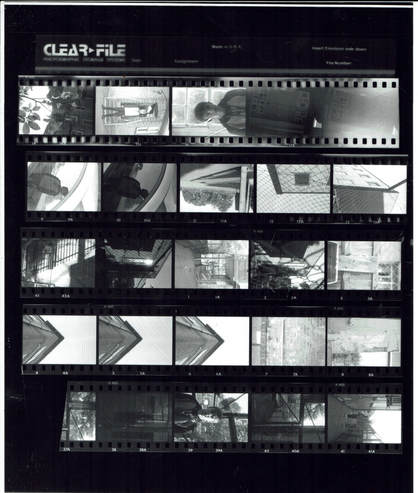
The above is a test trip for the contact sheet and below on the left is my first attempt at a contact sheet and the one on the right is a correctly exposed contact sheet. This contact sheet is used to find which images you want to enlarge.
|
|
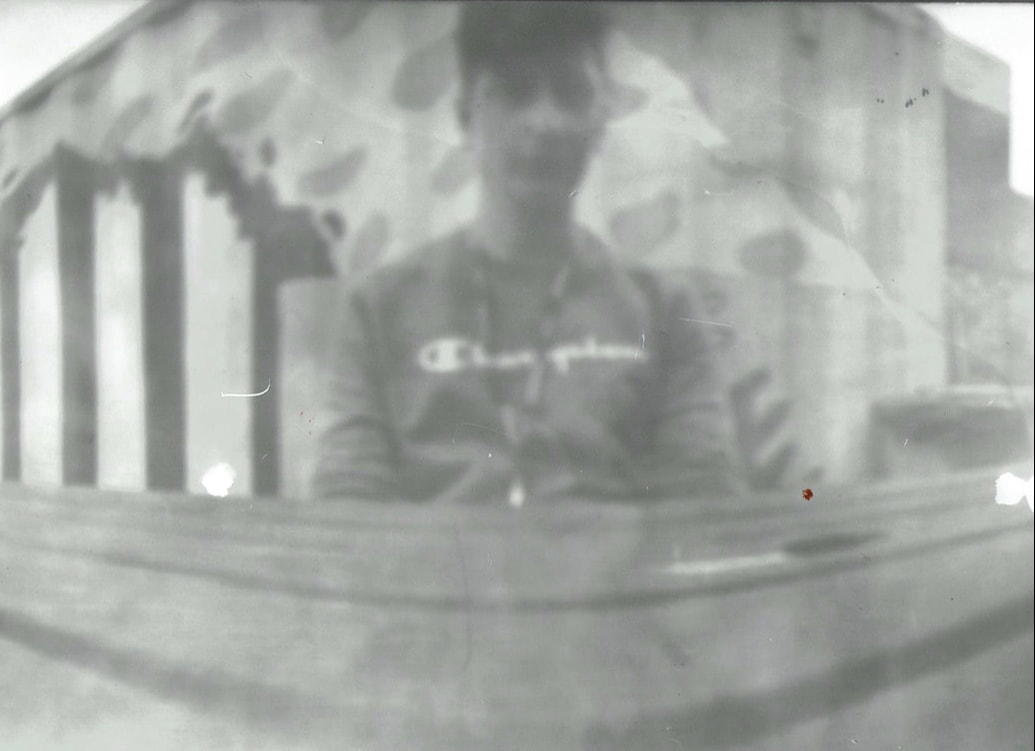
Enlarging photos starts with placing the negative in the negative holder. This allows the image to be projected onto a piece of photographic paper and be enlarged from its small 35mm form to a bigger print. Once you place your neg holder back in the enlarger, you need to turn the light on and frame the picture to the same size as your paper. To create a clean edged boarder we use a printing eazel. Once you have framed your image and selected an aperture of around f/11 to start off you are now ready to make a test strip. This allows you to choose a good exposeure. Below are the test strips i produced.The digital scans make it slightly harder to see the gradient of exposures.
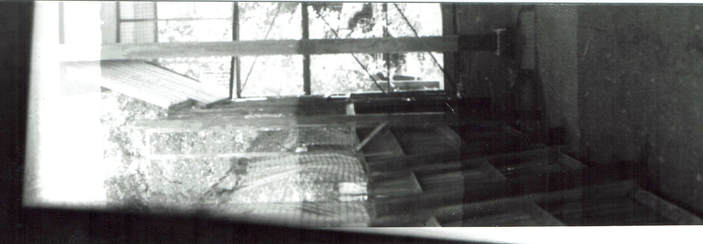
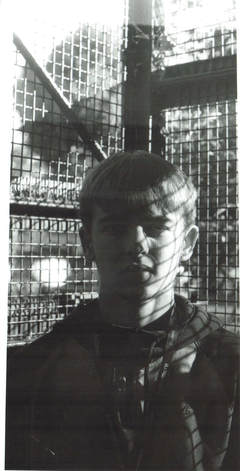
Once you are happy with an exposure time you are ready to enlarge the photos. Before the final exposure of the paper you always have to check the fine grain focus with a magnifier. This allows you to focus very precisely. Below are three final enlarged photos.